When we bought our house there was brass everywhere. EVERYWHERE. The door knobs, hinges, light fixtures, on and on and on. It had to go. Almost nothing more clearly says “I’m outdated” like shiny, early 90’s brass.
Let’s talk for a moment about what we’ve already done. The house had curry yellow walls nearly everywhere, brass fixtures in all rooms, and honey oak wood all over the place. (So. Much. Yellow.) So I enlisted the help of my family to paint the main living space of the kitchen and family room a neutral color. This step definitely helped neutralize the mustardy sensation I felt every time I walked through the house.
When I first started my “de-brassing” project I thought I would sand and spray paint the light fixtures and door knobs to save money and reuse existing items. But I couldn’t find a nickel, silver or chrome spray paint that didn’t look fake or dull or glittery. I read blogs and I looked at pictures, but, alas, nothing worked. In the end, we decided that items that get constant use, such as the door knobs and hinges, are worth spending money on. We bought door knobs on sale at HD and I found hinges online for about half of the price as in the home improvement stores.

When we progressed to the light fixtures things got interesting.
I decided, after my aforementioned nickel spray paint failure, to try black on a light fixture. (I’m not a quitter.) After getting the existing kitchen island light down, I collected sandpaper, a microfiber cloth (to wipe off dust after sanding), and spray paint. This is the fixture before.

Beautiful, isn’t she?
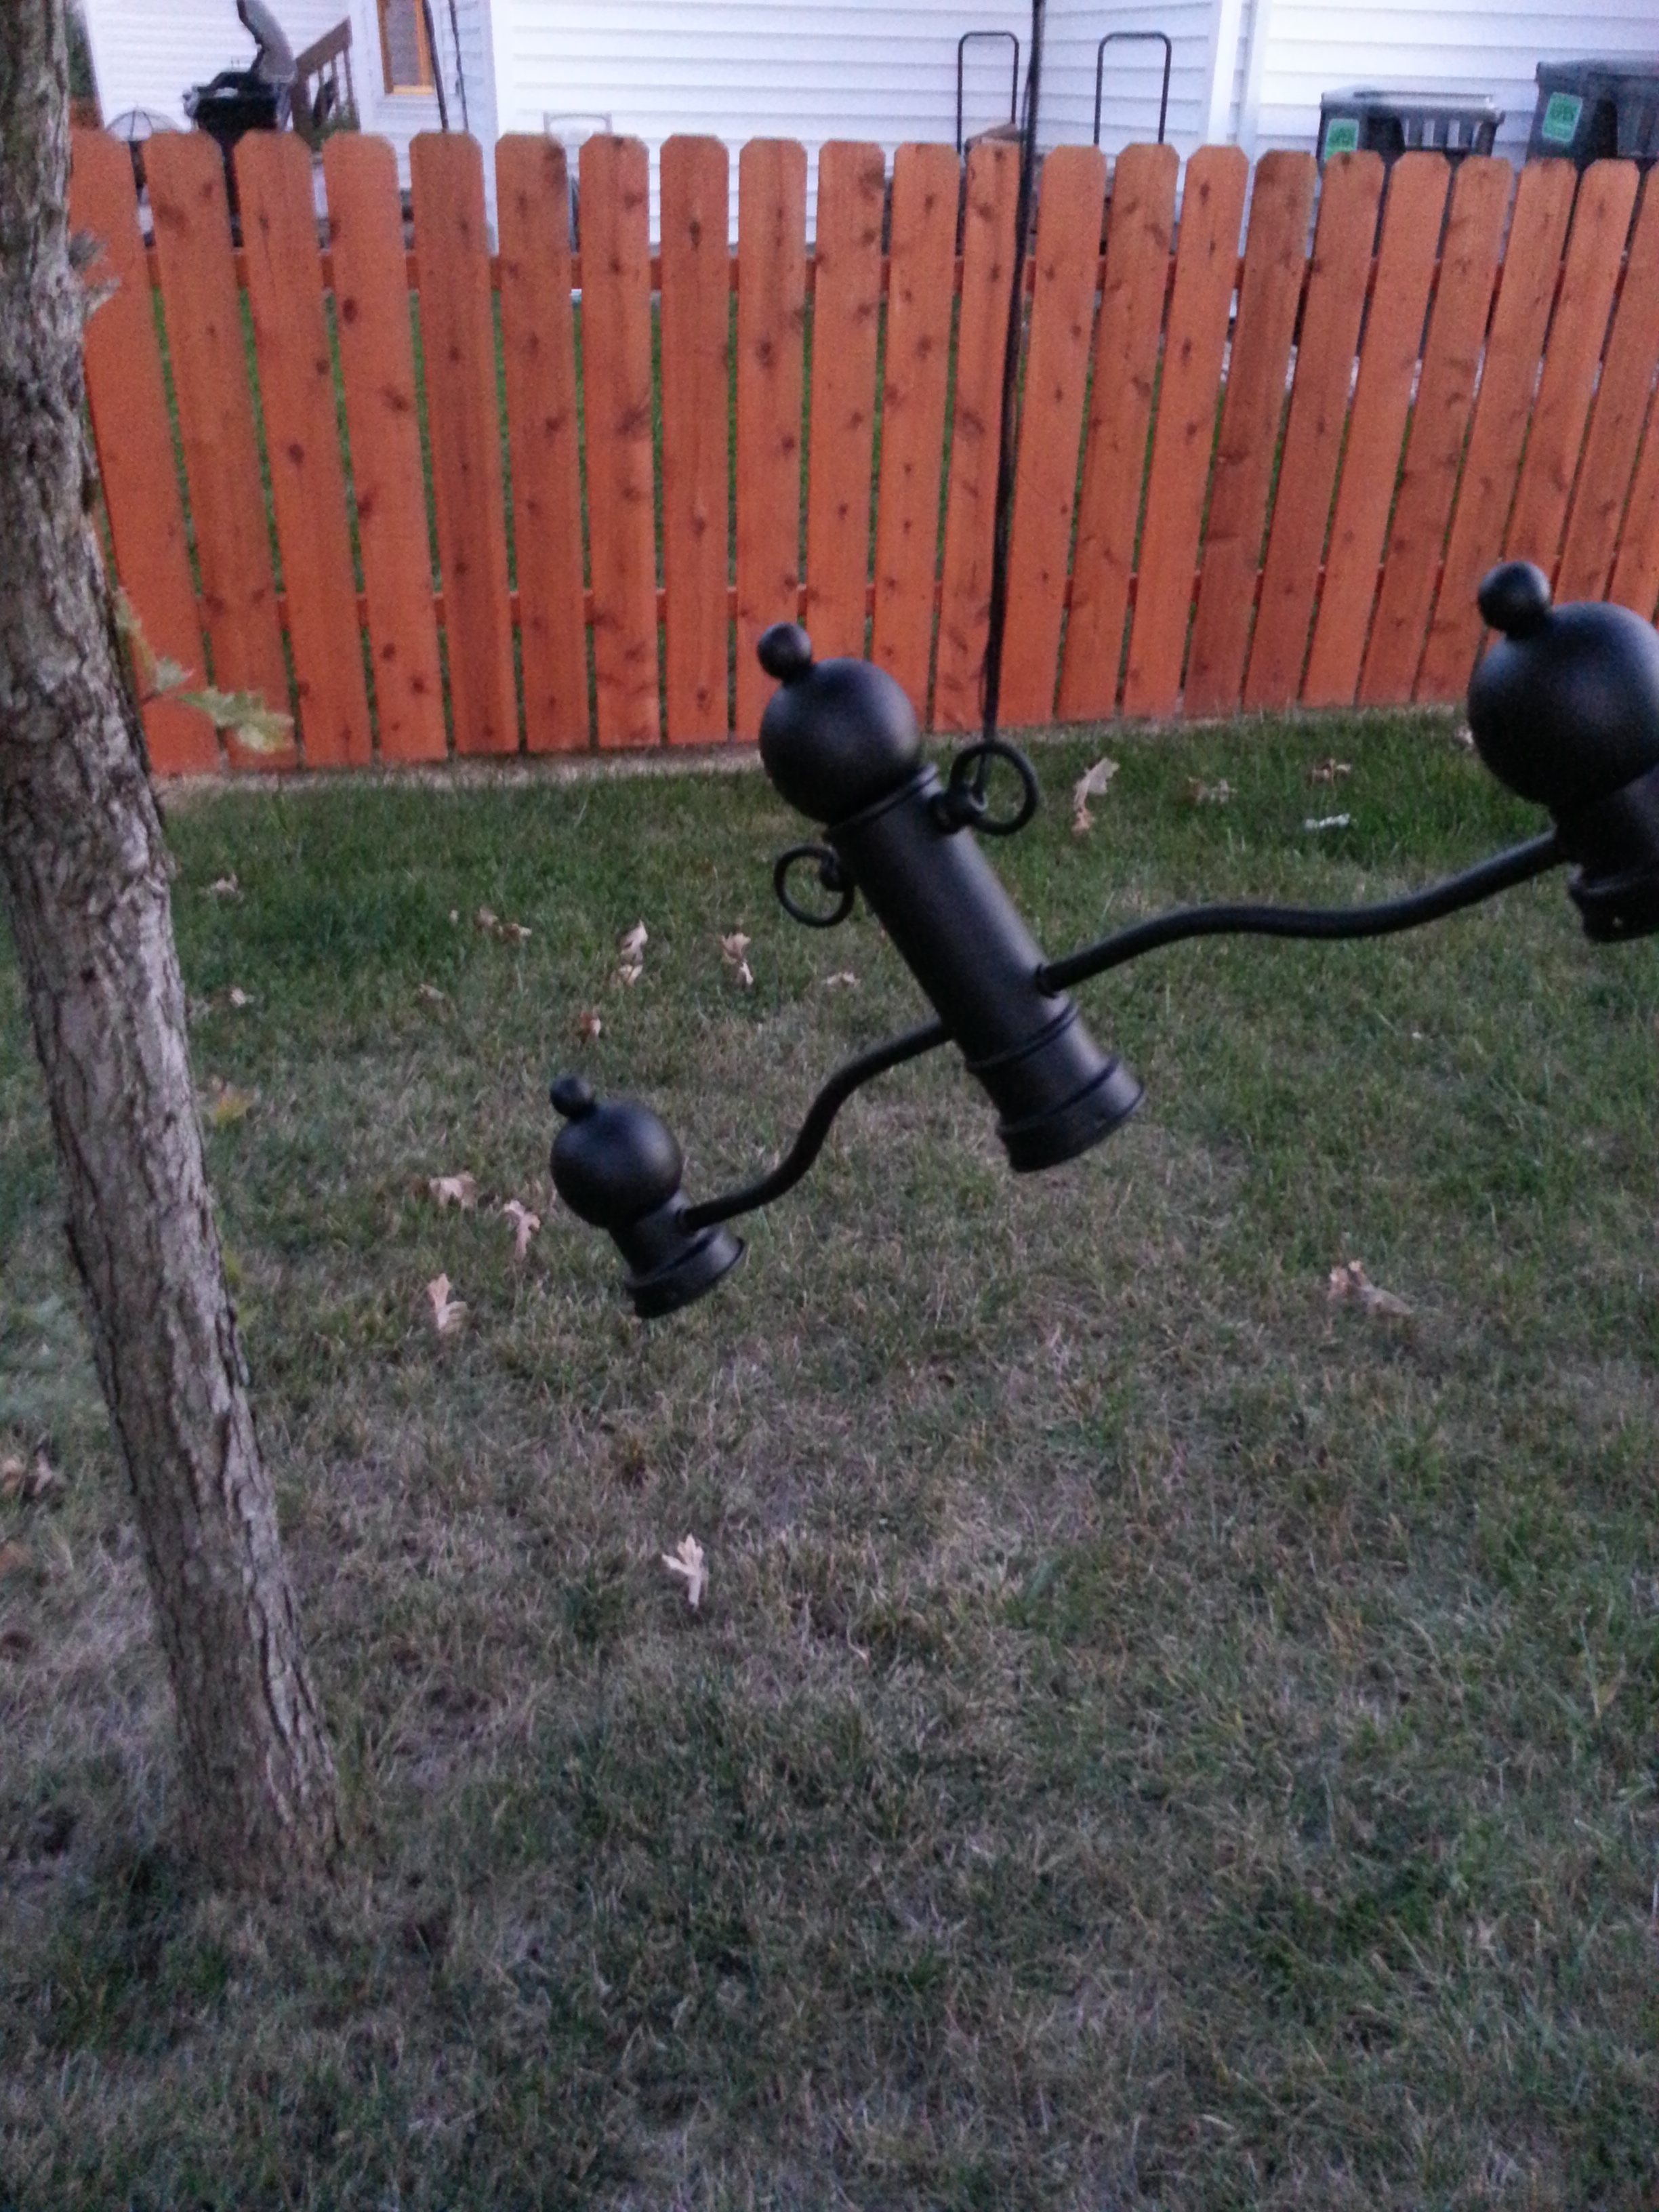
After sanding I hung the light fixture off the branch of a tree to spray paint it. At first I wasn’t sure if I should spray the electrical cord and metal chain the light hung from, but since I couldn’t find a matching replacement chain, and it wasn’t worth the money to replace the electrical cord, I tried spray painting them.
Hanging here it didn’t look half bad…
After letting the fixture dry for several hours outside and then inside over night, we tried to hang it. That’s when the problems began. Because I had had to separate the electrical cord from the metal chain in order to fully coat each with the spray paint, it had to be restrung after drying. In the process of doing this the spray paint began scraping off both the cord and the chain it hung with. It wasn’t too noticeable until we went to hang it – and then the push and pull and twisting scrapped the two against each other even more. It looked terrible. Really terrible. Sigh. I was going to have to buy a new one. I couldn’t stand the site of it. I won’t even post a picture.
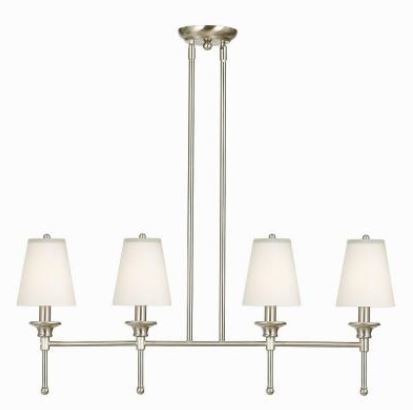
I couldn’t find a light fixture I loved right away so we settled on this one for under $100 until we had more time and money to coordinate this as well as the other lights and fans in the space.
Happy ending, right?
Well, I hadn’t quite exhausted my determination or experimentation gene. The weekend following my island light catastrophe there I was, politely asking my hubby to take down a ceiling fan so I could take it apart and spray paint it. He looked dubious but didn’t like the brass anymore than I did so was willing to let me give it a try. I believe his words were “I guess if you think third time’s the charm?” Nice.
I first cleaned every part of the fan. This took awhile because I’m *pretty sure* the previous owners hadn’t touched them the whole time they lived in the house. Next, I took the larger fan parts apart so I had the motor, fan blades, and light portions separated.
Once I felt the pieces of the fan were dry from cleaning I got to work spray painting on a paint canvas outside. Using an even stroke and applying even pressure to the nozzle, I sprayed side 1 of the fan in about 15 minutes. I let everything dry in the sun for a few hours before flipping the blades and rotating the motor to spray again. For the night I moved all of the pieces into the house, hoping a long sit time and the A/C would set the paint. Then I exercised patience and let the parts sit another 24 hours. I wanted to be sure the paint was setting before trying to put everything back together.
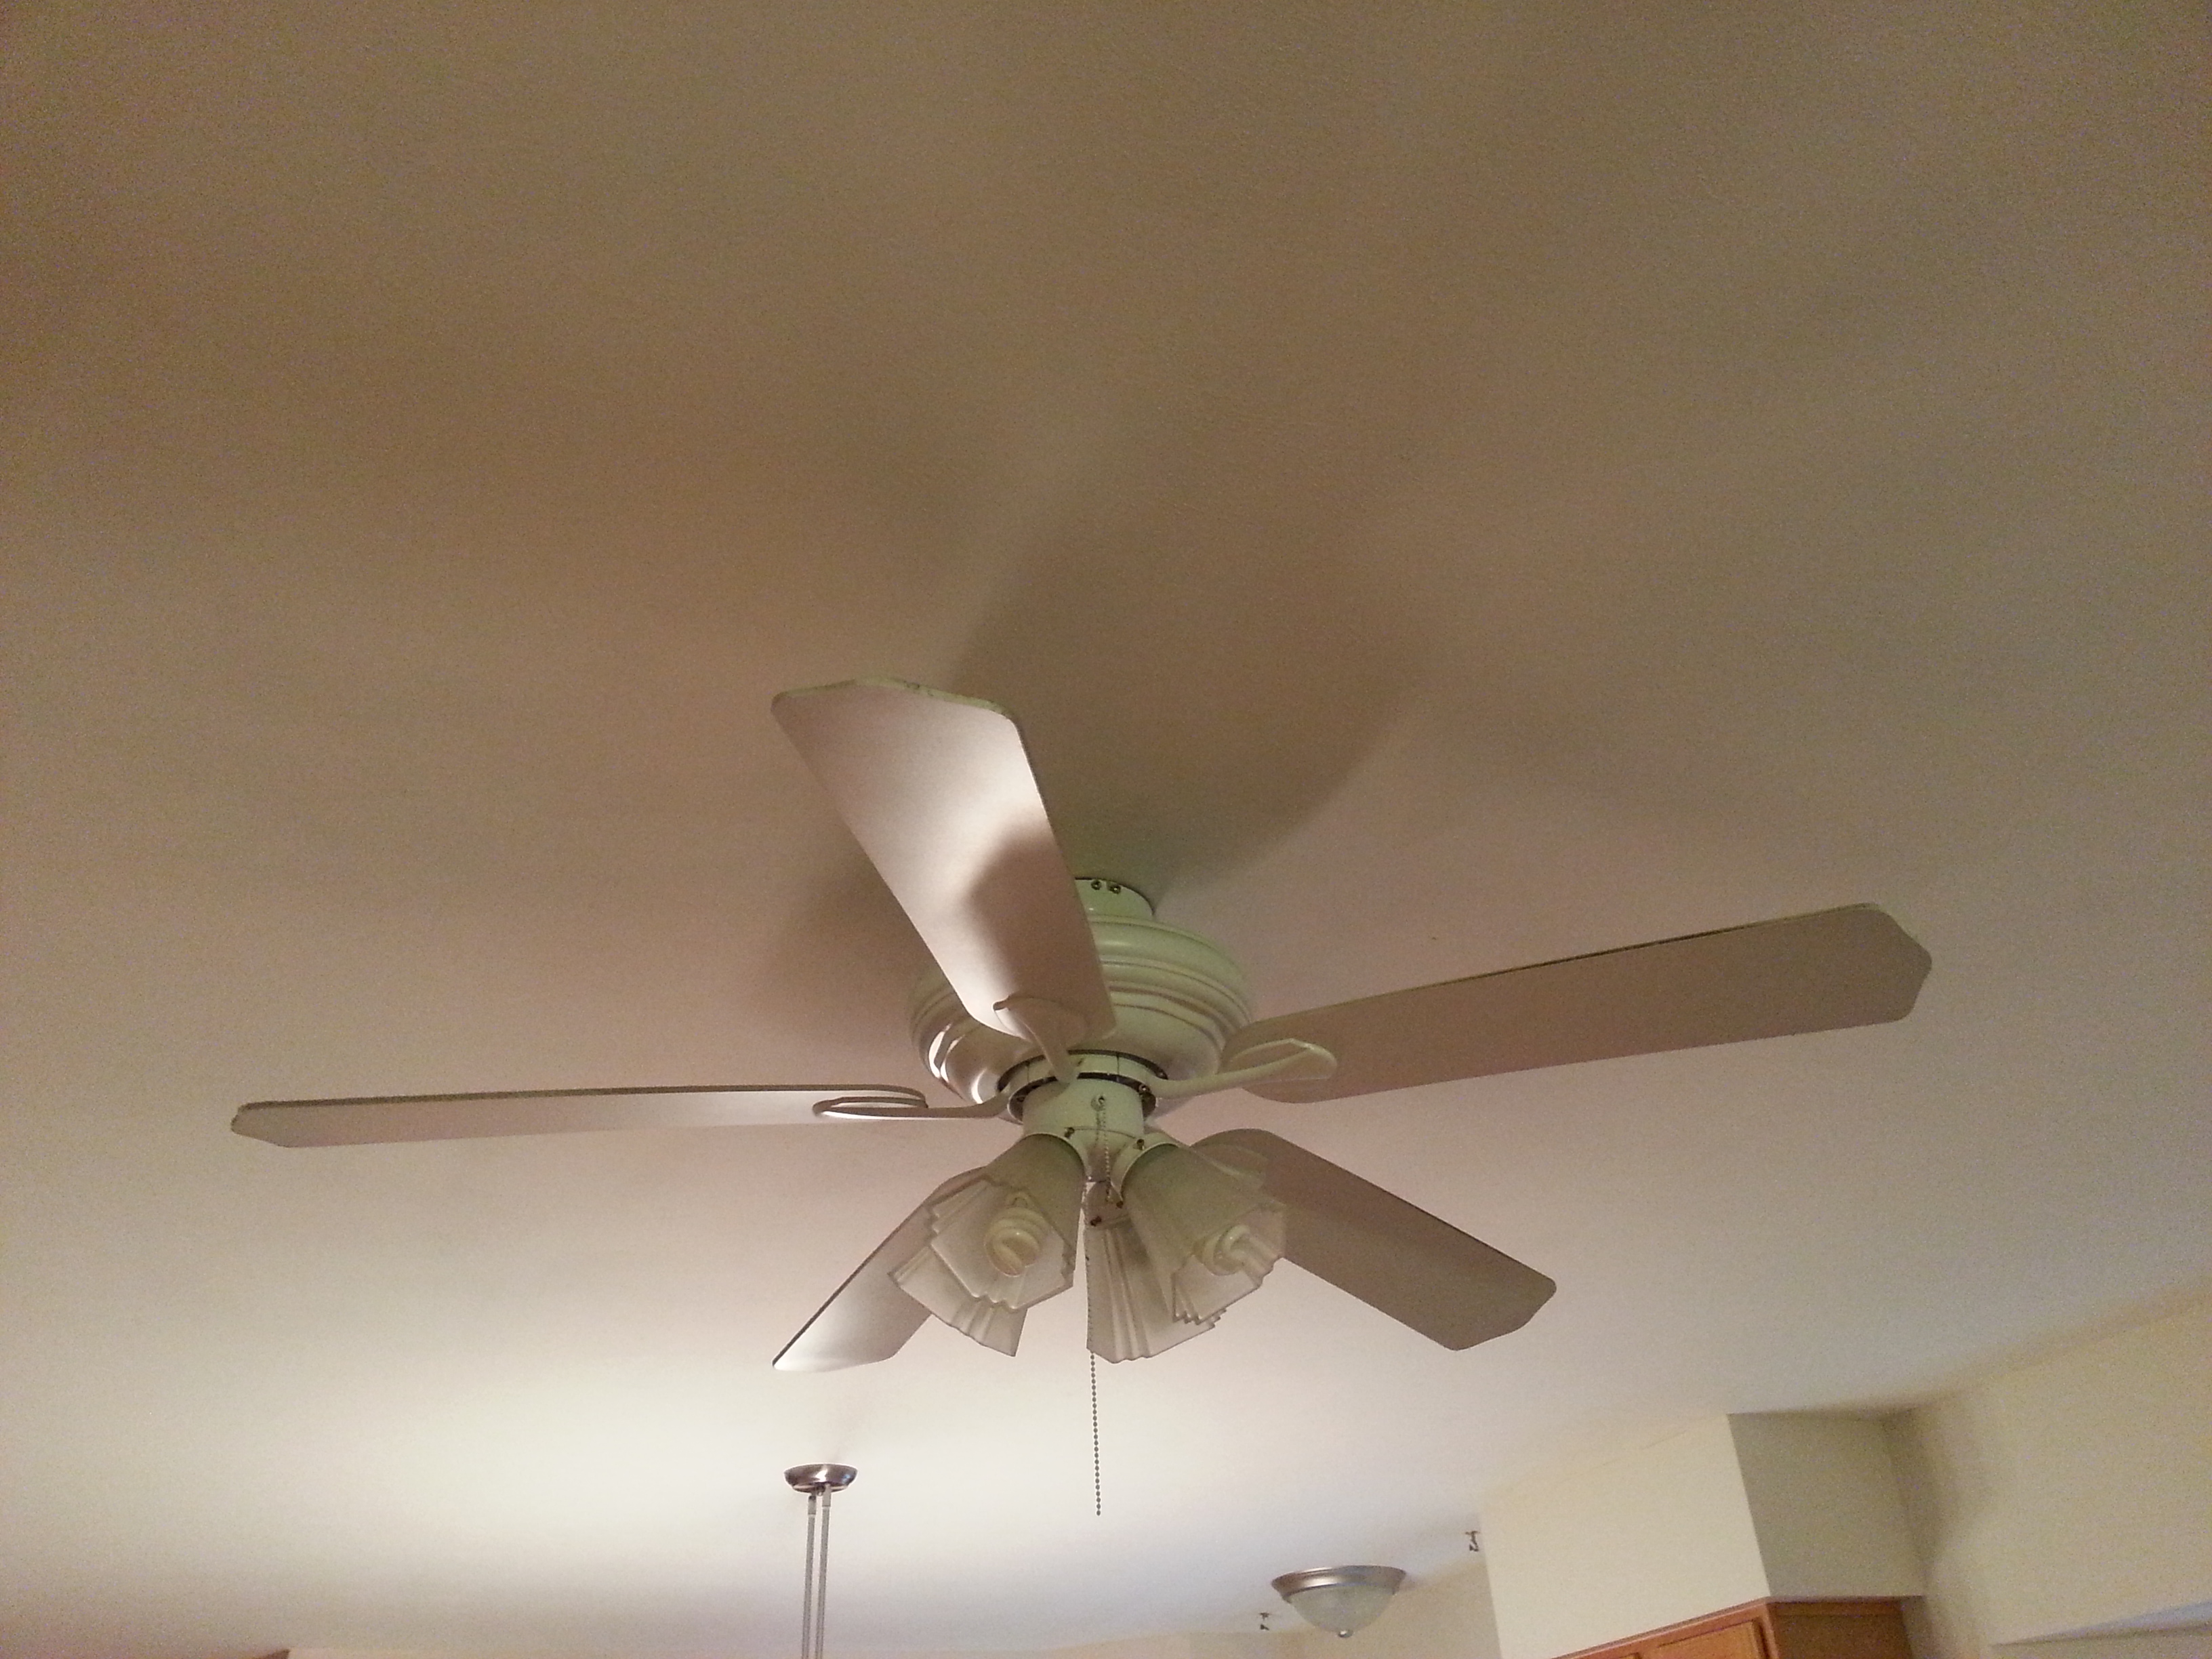
I don’t think they turned out too badly. In the below pics I’m zooming in on one in the evening light so you can see shadows but in real life they almost blend into the ceiling. Eventually I will replace those, too, but they work fine and are much less “brassy” now.
If I could identify what went differently with the fans versus the light fixture I would say it was three things:
- Experience level applying an even coat of spray paint,
- Not providing enough dry time, and,
- The stringing together that was needed to reassemble, which caused the friction that did not allow the paint coat to stay intact.
Project de-brassing has concluded for the time being. On to the next project.
