Do you ever say to yourself, after starting a house project, “Wow, this is taking a lot longer than I thought it would?” I’m thinking that right now.
It’s definitely fair to say that our pink bathroom update project is taking a long time. In all fairness, the bathroom is right next to the kiddo’s room, so we can’t work during nap time or at night, and no one wants to hole up in there all weekend while the other person is on full-time toddler duty. Both are worn out by the end of the day.
But finally, there’s progress to show.
In a previous post I mentioned how the pink tile, flooring and countertop were on their way out. That post documented through the replacement of the shower surround with tile. This post will show you the other major milestone we crossed: the floor. And boy oh boy is it exciting.
The previous flooring was linoleum. Lucky for us it was not strongly glued to the floor and ripped out fairly easily. Once the sheet was out we had to scrape the remaining paper and glue off of the subfloor. Then, because my husband read about 100 how-to articles, he wanted to put cement board down to be sure the tile had a solid and even base – which is cool because no one wants an uneven floor after all the work that goes into laying a tile floor. Here is a picture of once the cement board was in and the seams and screw holes were mudded and taped.

This part took about a day around naptime and mealtimes.
Before starting on the actual tile work we laid out the tiles first to make sure we were going to like the resulting pattern. It’s smart to do this otherwise you may end up with a bunch of lighter tiles or darker tiles all in the same area creating a patch of color. Depending on the texture or pattern of your tile you could also end up with blotches of similar looking tile in that way as well. (If you have a small child around you during this phase give yourself some extra time and an extra shot of patience. Ours wanted to walk all over them and try to move them around while we were discussing the pros and cons of the color combinations. Our kid is cute but sometimes I don’t think we share the same objectives.)
When we were ready to actual lay the tile thinset was mixed, which serves two purposes: 1) it attaches the tile to the floor and 2) it serves as a “flexible” base while wet that allows you to ensure the tiles are lying evenly from one to the next. The hubster began at the back left corner by the tub, leaving the appropriate margin for a grout line against the wall and tub wall, and started laying in the tile atop spread thinset. We used spacers to ensure the spacing was nice and even. If your tub base is not perfectly perpendicular with the side walls you will need to cut or shave the tiles down to form a straight line across the tub base. My man is my hero because he had to ensure level tiles across the floor, ensure consist lines of tile across the floor, cut tile to size for certain spaces, account for grout lines, and all the while make steady progress and fixing things before thinset dried.
This pic is from about 75% of the way done:
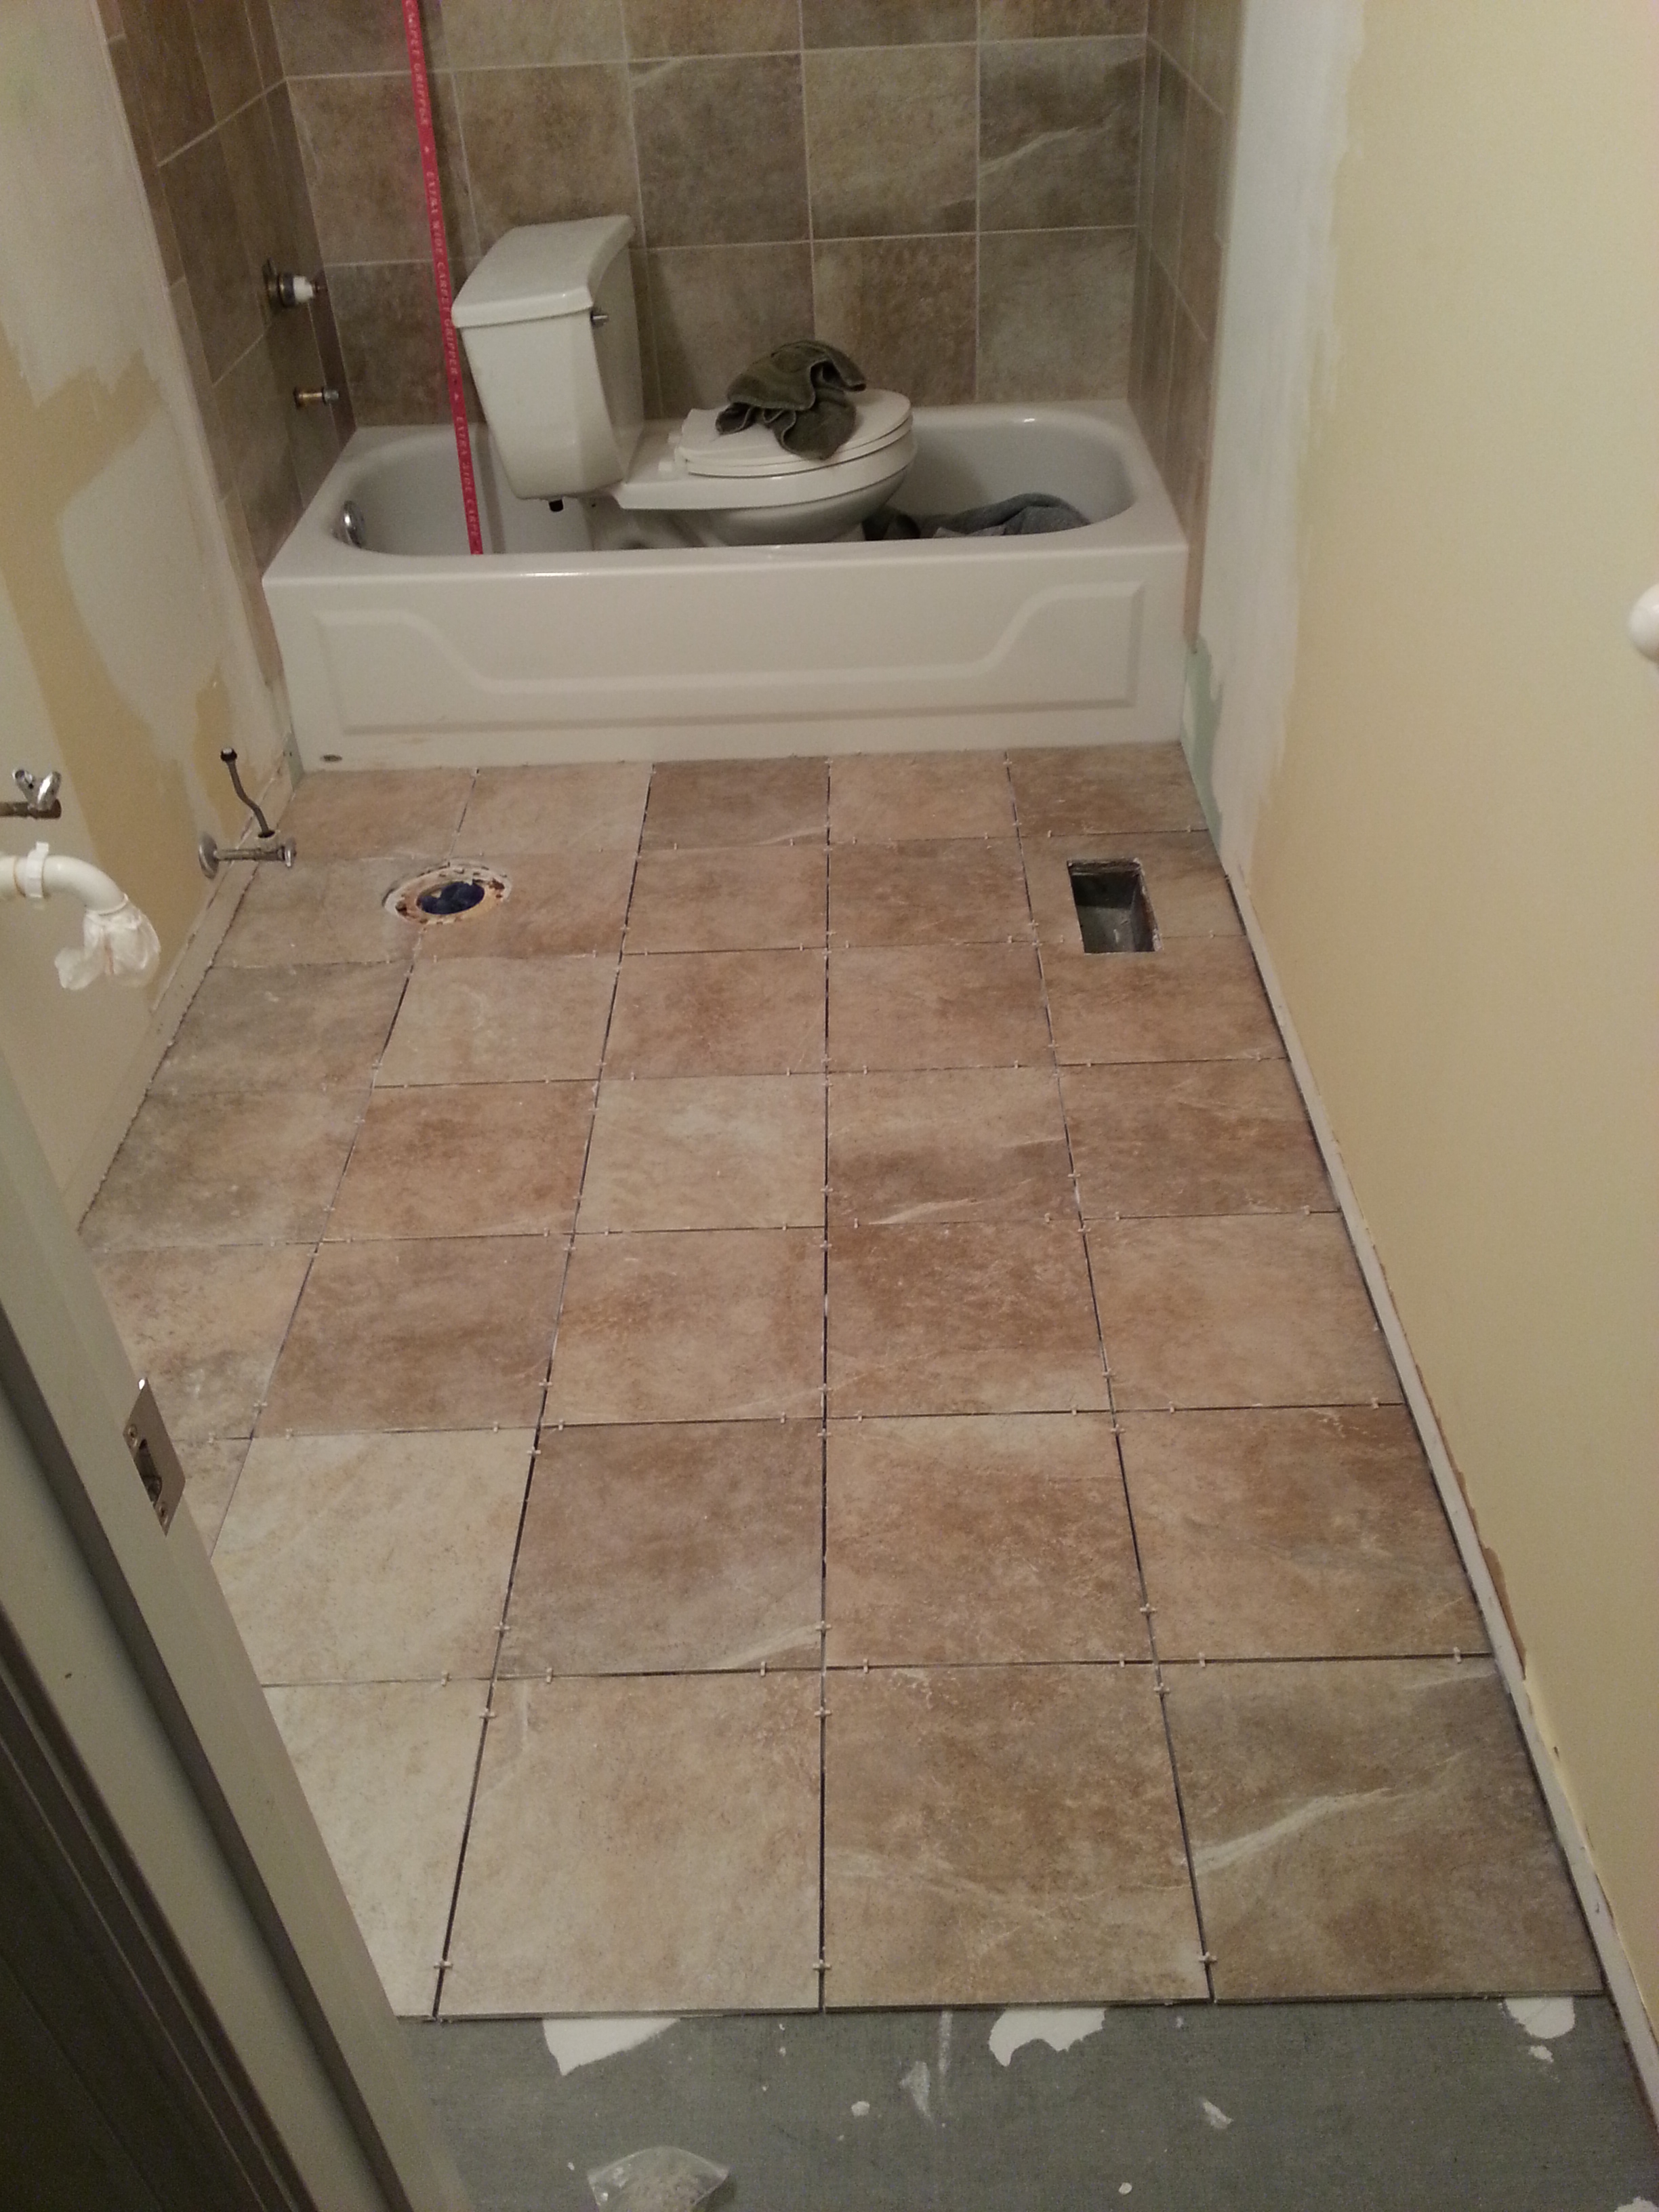
Again with the faux pink tint. Combination of poor lighting and amateur phone photographer.
After all the tiles are in you must let dry.
Fast forward to the following weekend.
Grout time. Grout was mixed and spread into the grout lines. I don’t have pictures of this work in progress because I was downstairs with the little one building block towers, reading every book twice, and watching Thomas the Tank Engine. 🙂
Let dry again for a couple of days. Then seal your floor, let it dry, and seal a second time because you’re in a bathroom with the presence of water. Let dry several days.
While we still have a few things to do in this bathroom, we moved the base cabinets back in just to see what the room would look like.
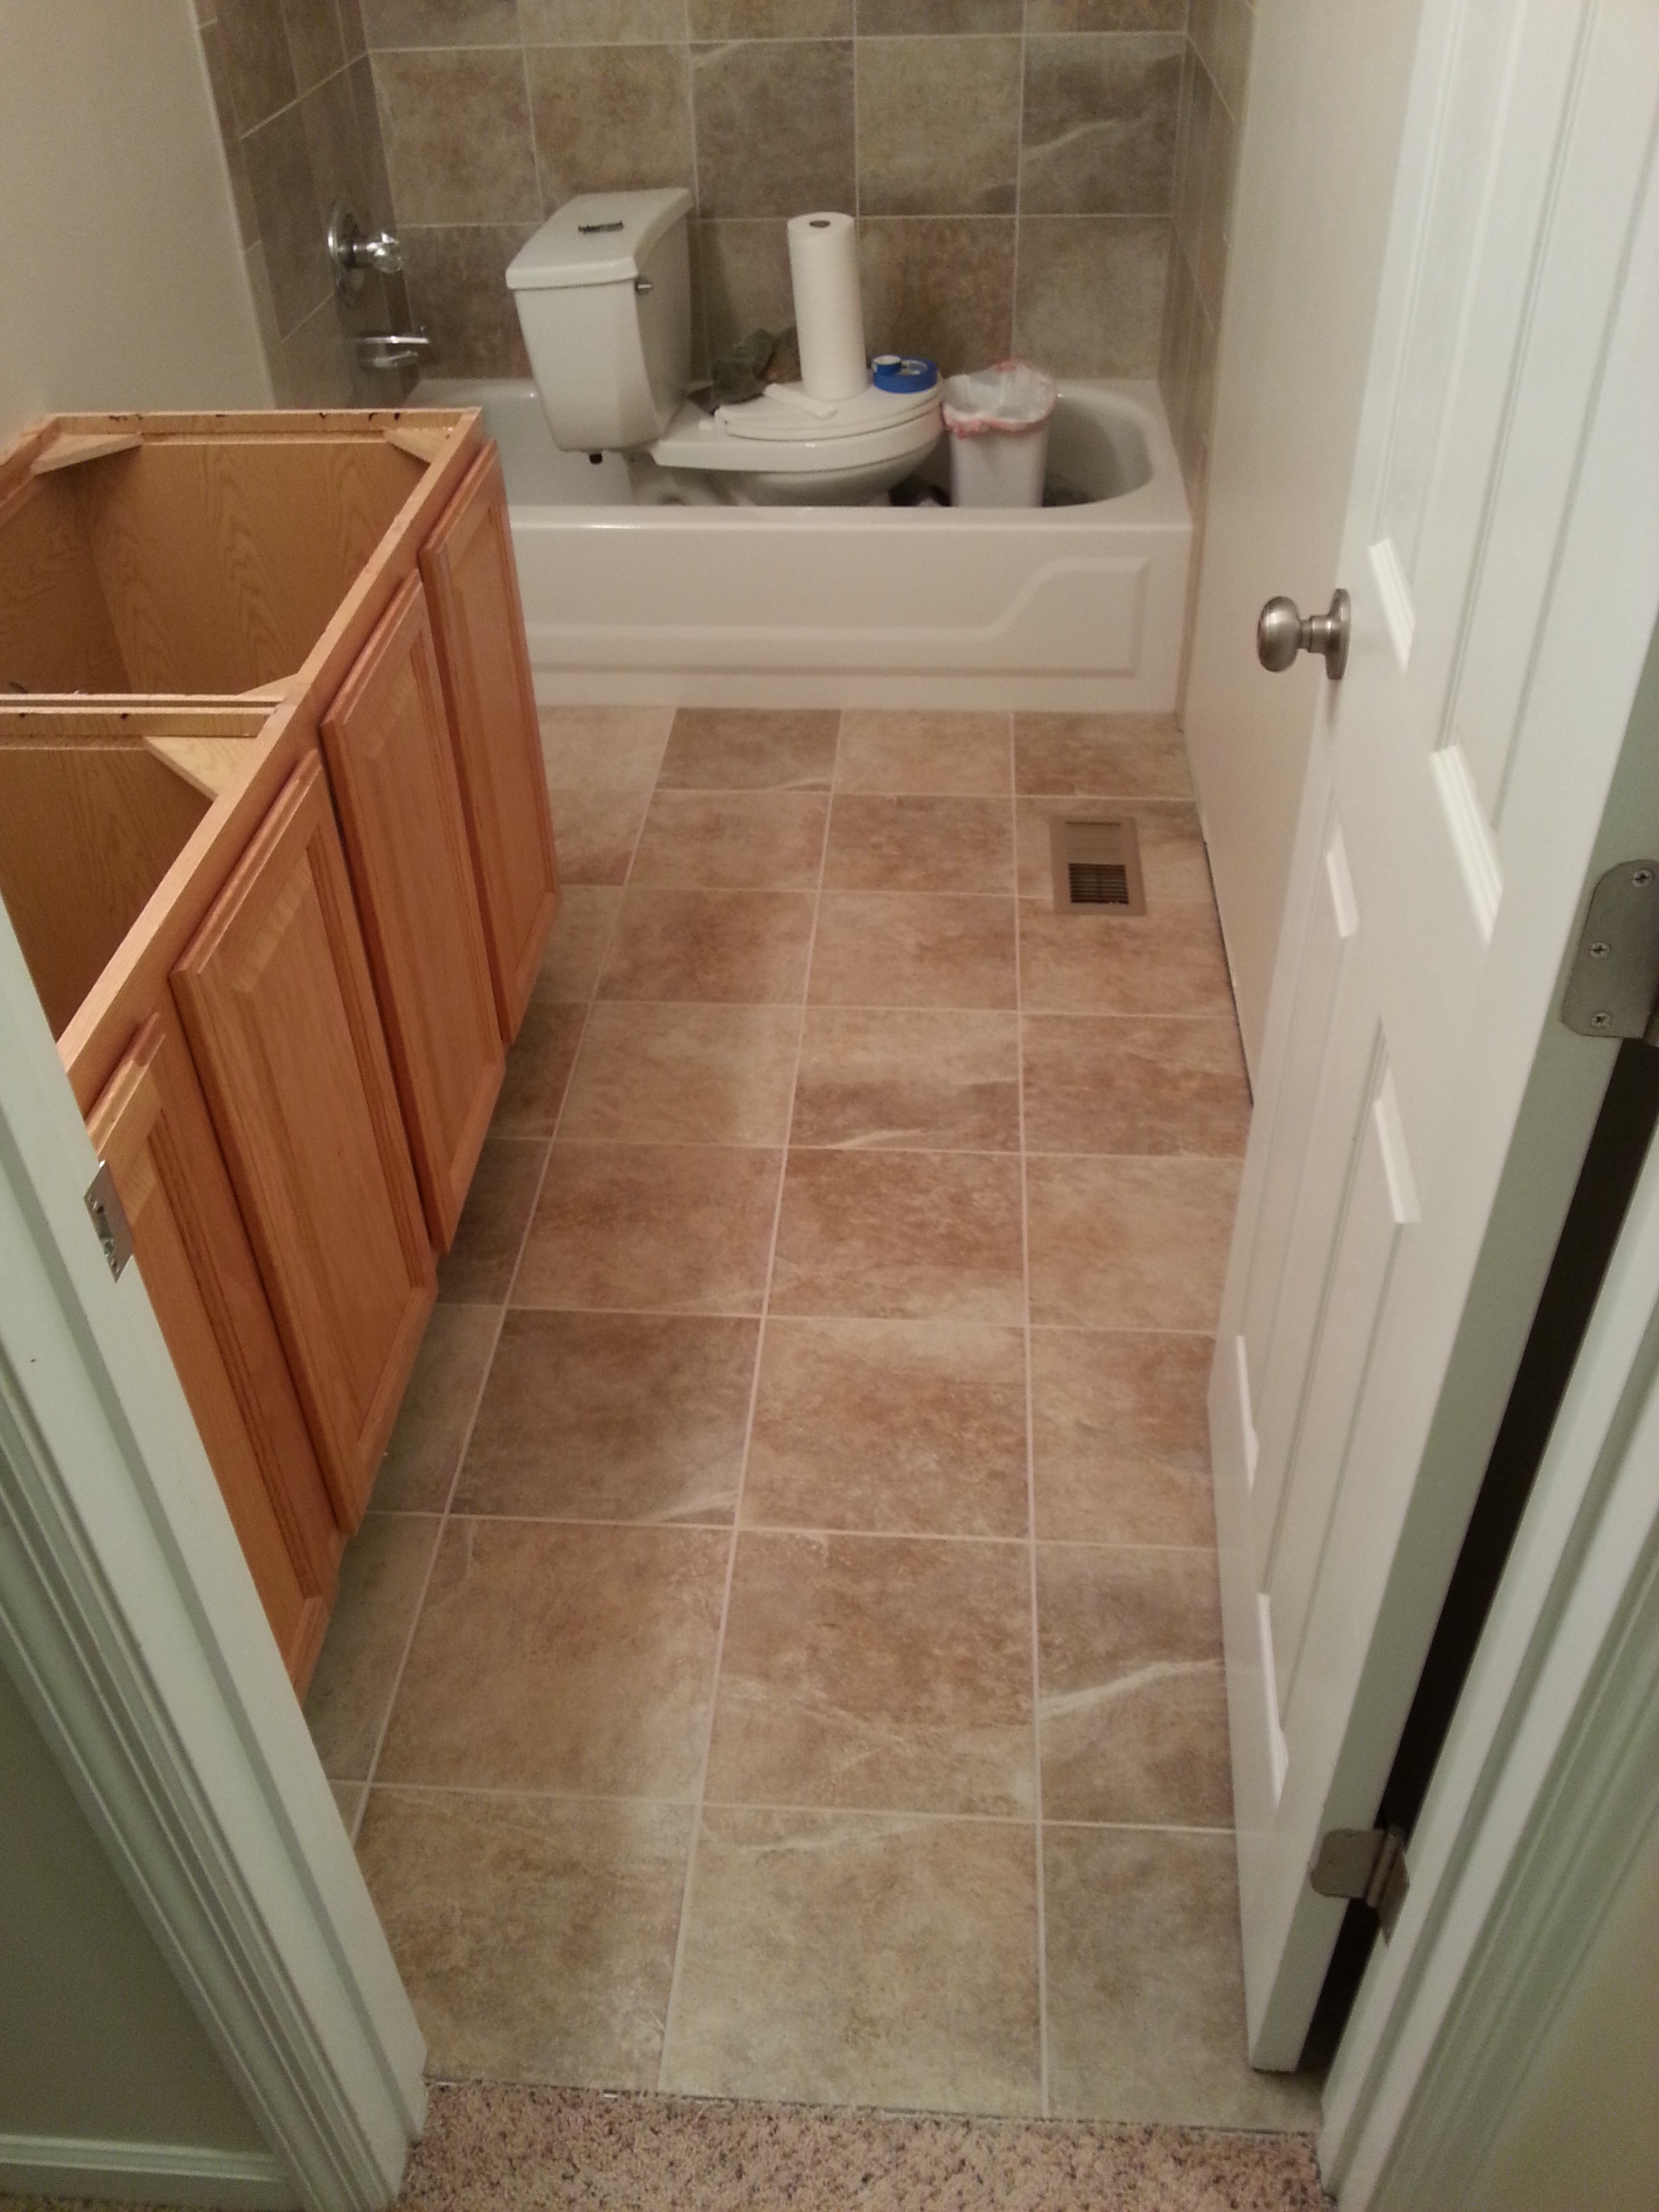
It is so very much better than the pink motif we were dealing with before! (Again, these pictures make the tile look a bit pinkish but I promise they aren’t – check out the shower tiles in the background around the tub/shower to see a more accurate representation of their color.)
Stay tuned for our adventures in completing this project!
