In this post we’ll share more about our kitchen remodel project, and share the end result. There were a few delays, which we should expect by now, and try to account for, but yet are always surprised by when they occur. However, we haven’t once looked back and regretted the time, investment, or hassle it took to arrive at an end result. It’s always been worth it to undertake home improvement projects.
Here is a summary of the work done.
Cabinets and Granite
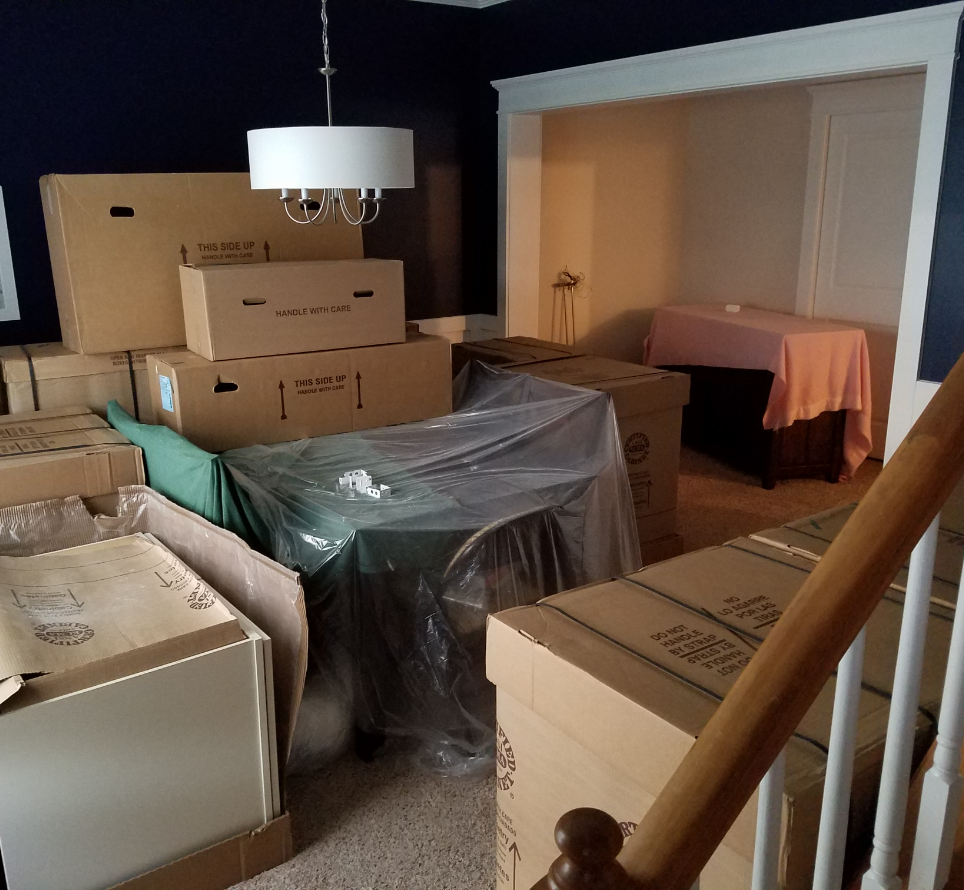
After the kitchen space was prepped for the new layout, the cabinets were ordered, and a granite slab had been selected we waited for the cabinets to be delivered. Upon delivery we made our first mistake. We celebrated too soon. We celebrated before we unwrapped each. and. every. box. to make sure there weren’t any issues. Part of the reason for that may be because of how daunting it would have been to do it. Do you see all these boxes? This is only a partial representation too. Daunting task.
Now, it could have been worse. The cabinet color and style were correct. We just had issues with some of the cabinet doors. The style we had chosen had beveled wood on the faces and some had either been banged up during delivery or had corners that didn’t completely come together at the seams. To be honest, I’m drafting this months later and I still think we should have sent them all back because it was a consistent issue that pointed to a manufacturing issue, but, we were anxious, new to cabinets, and had been convinced by a suggestion to use the included color matching wax crayon to blend any seams so we only requested replacements for cabinets we didn’t feel we could fix. Maybe only the two of us, and my mother, notice.
It took us a lot longer than anticipated to install the cabinets. Why you ask? Because we neglected to account for one factor. We knew we had a small crown piece that would butt up against the soffit and we had to make sure it would fit. Check. We knew we wanted to hang them at a consistent height. Check. We didn’t account for the soffit not being the same height all the way across. That is, until we got a few of the upper cabinets in. After three in I began to notice that the line between the top of the cabinets and the soffit wasn’t evenly spaced. We stepped back and agreed something was off. It took us a minute to pinpoint the issue. We had to take everything down and start over, making minute adjustments for the differences in combination with the other factors at play so that in the end, it wouldn’t be as noticeable. We have since learned to measure every possible element before starting a project to make sure we understand if any one component is out of place. It takes longer, but we’ve reaped the rewards of this lesson many times since in finding something out before we get started and make plans before investing the time and energy.
We ran into one other snafu when the cabinet over the refrigerator needed special bracing and I wasn’t strong enough to hold the cabinet (a huge one!) while my husband screwed it into place. We had to call in reinforcements, so thank you to the family members who helped out or this would still be an unfinished project still today.
We then put in the appliances and awaited our granite installation. The wait for this turned out to be a lot harder than I thought. Our installer didn’t order fabrication until an install date was scheduled so there were two “delays” in my opinion as I anxiously awaited the granite. The first was a fabrication date, and the second was an install date. Three weeks it took from the time we called to say we were ready until the installation date. Ugh.
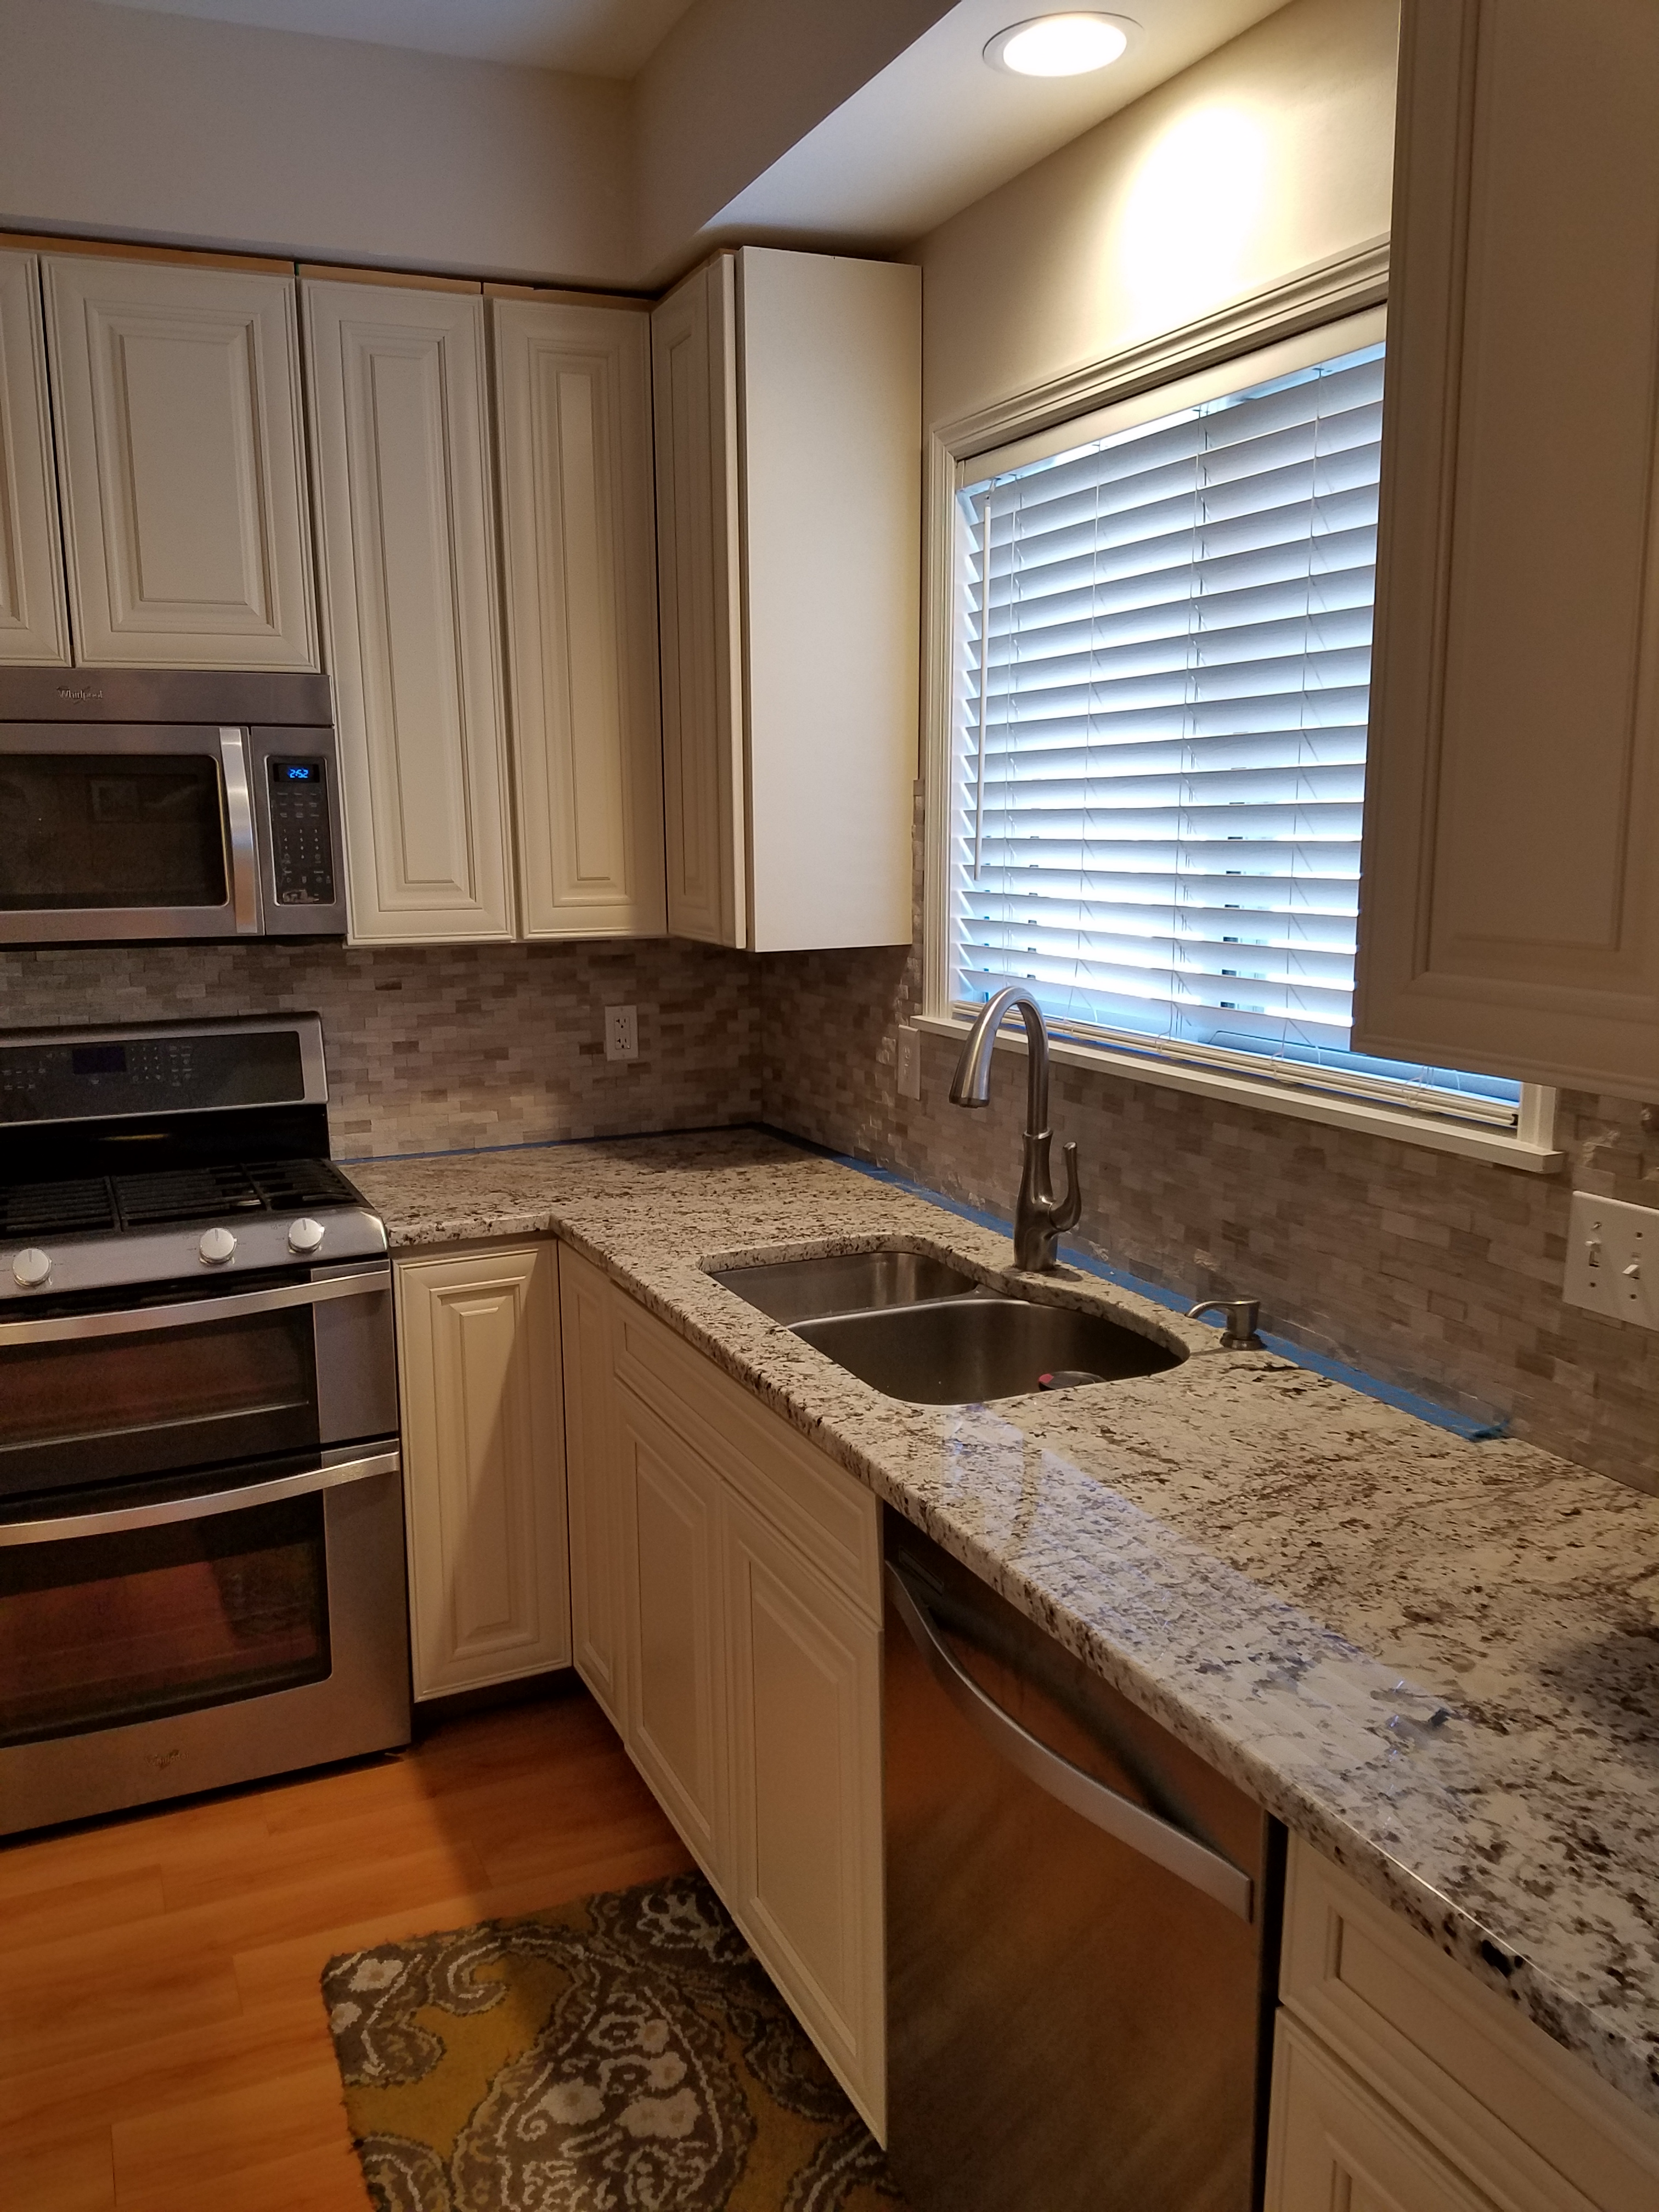
Both went smoothly. There is very little as satisfying as seeing brand new, smooth, clean granite installed in a space. You can see a photo of it below. So pretty.
Adventures in Backsplash
While we awaited the granite installation we began to look for back splash. I learned a lesson here: I do not enjoy searching for back splash. There are so many options, you can’t tell what it looks like until you go to the store and bring it home in your space instead of under the light in a store, and even then the components are so small it’s hard to get a good feel for it unless you invest a lot or are willing to take a risk. Considering how much time I spend in the kitchen I’d like to feel confident in my choice. My family gets brownie points for the number of times we spent our evenings and weekends picking up, analyzing, returning back splash options. What a time waster. Eventually we found a real stone in a lovely neutral gray/cream, placed an order without delay as we had a coupon (naturally) and awaited the order to arrive.
Lesson learned: Now, I thought I was saving my sweetheart time by ordering the small pieces already attached to a mat so he could theoretically hang the sheets and not have to install piece by piece. I was wrong. After our granite was installed we realized the counter was not 100% level, even though during install the installer shimmed some. Therefore, just hanging the sheets of back splash wouldn’t work. This is where my husband’s handiness REALLY came in handy. You have the start from the bottom row or top row and work consistently in the other direction. We wanted full rows toward the bottom because it is most visible, but my husband (bless his heart) had to explain to me at least three different ways why he had to hand cut and install the entire bottom row. I thought, surely this is not necessary. But as he demonstrated how the differences will become more obvious as the rows build, and referenced our cabinet issue. So, he started the process of measuring across the surface and calculating any adjustments needed for the bottom row. Really, it was painstaking. This tiny little paragraph does not do any justice to the manual, detailed work that he undertook to ensure everything looked professional when completed. Thanks dearest.

(Note: The windows in our home didn’t come with any molding so I added some as well as a new window sill before my husband installed the back splash.)
The below is a photo before we had installed the crown and hardware. For some reason, we didn’t get a photo of the finished product. Actually, we know why that is. We decided not long after this to replace all the flooring in the house, so, we got distracted. It never ends around here!
Praise the Good Lord who gave us the patience and the will to survive this project, and work alongside each other when we were frustrated and didn’t see things the same way at first – which is pretty often :).
Cabinet Jewelry and Moving Back In
The last piece we needed to finish the kitchen was cabinet hardware. Again, not the most fun I’ve ever had. Again, so many options. Color, style, how to install. Due to the more ornate look of the cabinet doors I choose a more elegant style hardware in brushed nickel.
It took my husband quite awhile to get up the courage to install the hardware. He had never done it before and was worried about making a mistake. This guide was super helpful.
And now… the kitchen was complete. The joy I experienced in all of my things getting a designated space, using my stove again, and reclaiming the kitchen sink was real.
<INSERT PHOTO>
